PUZZLE 163 Puzzle of Betrayal
- Party People
- Puzzle of Betrayal
- Pop-Up Prairie Dogs 2
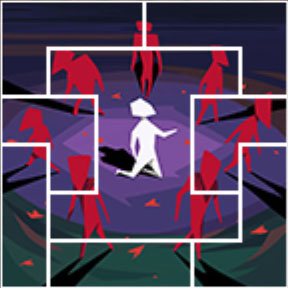
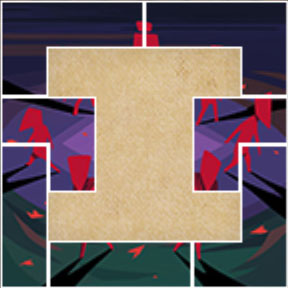
Puzzle Location: The Treachery (The picture in the center)
Let's put this picture back together.
Slide each of the pieces in the picture into the right position, and then place the large piece outside of the picture into the empty space.
you can move the pieces around by sliding them, but you can't move them outside the picture.
They also cannot be overlap or be moved through each other.
Hint 1
The final piece forms the centre of the picture, so you need to create a space that this piece will fit into.
You don't need to move the pieces at the top-left and bottom-left.
Hint 2
Let's look at one solution.
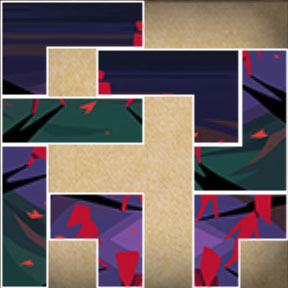
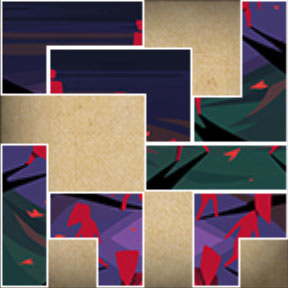
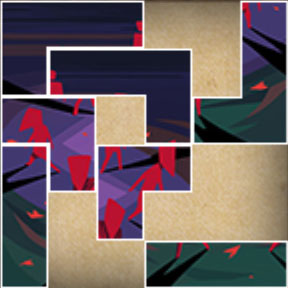
First, move down all of the pieces that can go straight down.
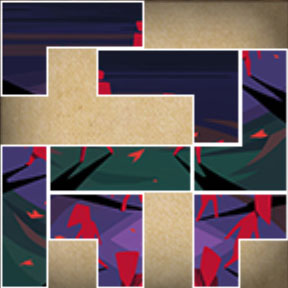
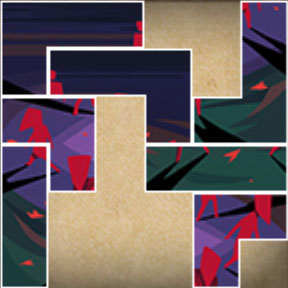
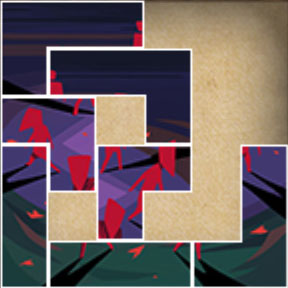
Then move the L-shaped piece in the centre to the right, and move the oblong piece on the left to the right and then down.
Hint 3
Continuing on from hint two...
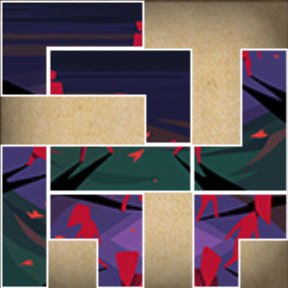
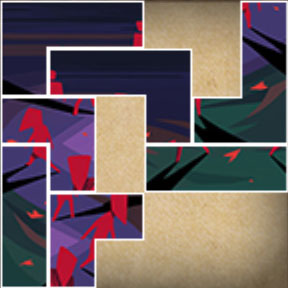
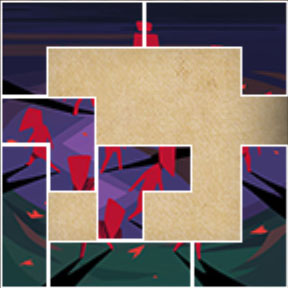
Move the L-shaped piece at the top-centre back to the left, and then move the vertical L-shaped piece on the right back up as well.
After moving the horizontal oblong piece right, move the two small pieces at the bottom to the left.
Then you are clear to move the horizontal oblong piece to the bottom-right of the picture.
Super Hint
Continuing on from hint three...
Move the small pieces out of the way so that you can move the horizontal oblong piece at the bottom to the left.
Then move the piece at the top-right to the bottom-right, and the piece at the upper-centre to the top-right.
Then all you need to do is move the small pieces to the left and right to create the perfect space for the final piece in the middle.
Answer for 'Puzzle of Betrayal'
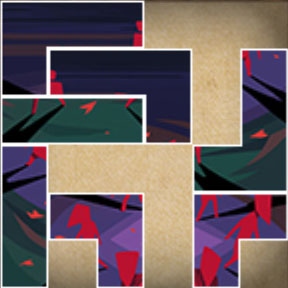
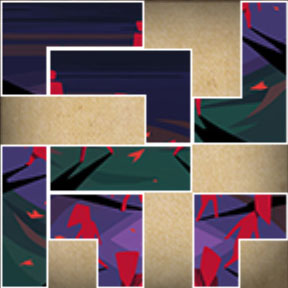
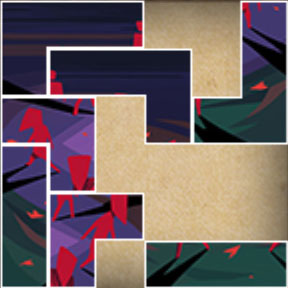
-
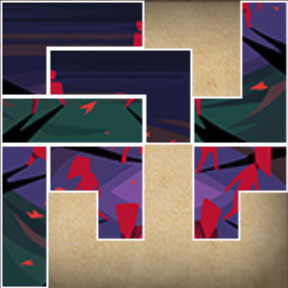
Default position
-
Step 1
-
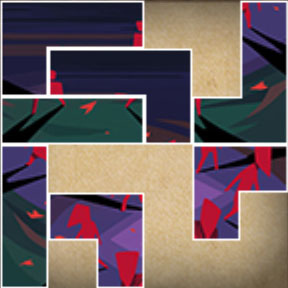
Step 2
-
Step 3
-
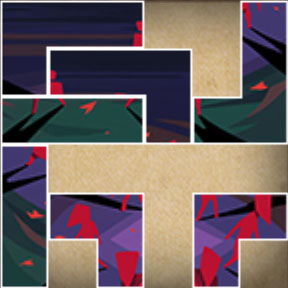
Step 4
-
Step 5
-
Step 6
-
Step 7
-
Step 8
-
Step 9
-
Step 10
-
Step 11
-
Step 12
-
Step 13

-
Step 14
-
Step 15
-
Step 16
-
Step 17